An introduction to the Blog object
The word 'blog' is short for web log. A blog is a journal that's posted on the web for other to read. The Blog object provides an easy way to implement a blog on your website without special requirements on the web server, because all content is static (it's edited in Web Builder).
But unlike its name suggests, the Blog can be be used fore more than just a blog. It is also a quick way to display all kinds of data is a list or grid.
A blog item can have a subject, description, date and optionally an image.

Comment Text, each entry will have a link at the bottom to allow readers to send comments. The default text is 'Send Comments', but you can change this to anything you like. If you leave this field blank, no link will be displayed. Comment Email, specifies the email address where the comments will be send to.
Sort Order
Specifies the order of the items on the page ('Ascending' or 'Descending').
Columns
Specifies whether to display the blog items in columns. This option is responsive, so each breakpoint can have different number of columns.
Sort Order
Specifies the order of the items on the page ('Ascending' or 'Descending').
Columns
Specifies whether to display the blog items in columns. This option is responsive, so each breakpoint can have different number of columns.
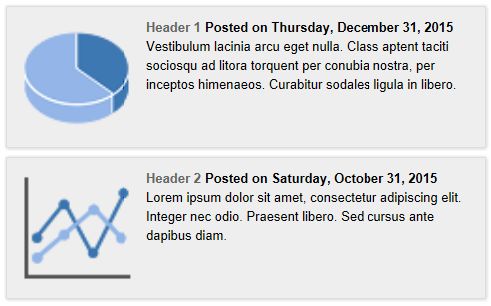
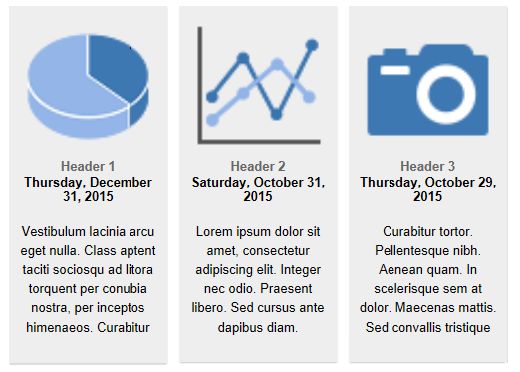
Layouts
One of the great features of the blog is the ability to change the layout of the items. There are several predefined layouts available.
You can also create your own layouts (with HTML/CSS templates). The templates are stored in the folder Documents\Quick and Easy Web Builder\system\blog\. Note that this requires some knowlegde of HTML/CSS!
Here are a few example layouts (click for a larger image):
 |
 |
 |
 |
 |
 |
Responsive Blog
The blog supports Responsive Fonts so the object can have different font sizes in breakpoints. This can be useful if you need a larger font for smaller screens. Each breakpoint can have a different text size.
Also the number of columns can be different in breakpoints. So larger breakpoints ycan have more columns then smaller ones. When the blog is part of a Layout Grid it will automctally stretch based on the screen width.
More information
More details about the blog options is available in the help.
More details about the blog options is available in the help.

Adding items
To add a new entry to the Blog, click the 'Blog Items' button in the properties. Give the entry a title and then type your blog's message in the text area.
Optionally you can insert an image and a link to a related web page. How the link is embedded in the item depends on the selected layout.
For most layouts the link will be assigned to the title. But some layouts also have a 'Read more' button.
